Product Description:
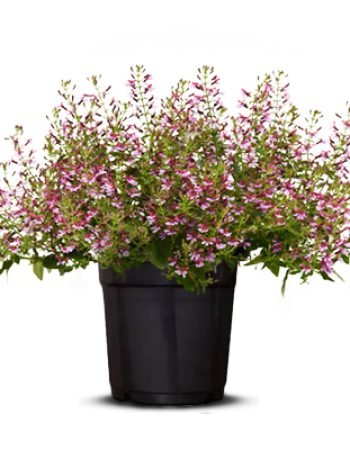
If you’re looking for a garden flower with show appeal, hydrangea flowers are truly stunning. Large globes of flowers cover this shrub in summer and spring. Although their appearance may seem high maintenance, with the right conditions and care, hydrangeas are actually fairly easy to grow. Blooming in spring and summer, the hydrangea is considered a shrub. But despite their ability to be rather large showstoppers in your yard. Reaching up to 15 feet in height, the hydrangea grows quickly and often fills in a space in just one summer. You’ll find hydrangeas growing in hardiness zone 3 to 7 as perennials as perennials.
Light:
Most varieties tolerate full sun in the North, but benefit from afternoon shade. In the South, plants require afternoon shade. Do best when planted in a north- or east-facing window
Soil:
In general, hydrangeas can tolerate a wide range of soil types but they grow best in fertile, humus-rich soil.
Water:
Hydrangeas need consistent moisture throughout the growing season: give your hydrangeas a deep drink of water one to two times every week.
Temperature and Humidity
Hydrangeas prefer to grow in partial shade, they usually do best when planted in a north- or east-facing site, where winter temperatures remain somewhat constant. Avoid planting on the south and west side of your property where the warmth of winter sun could cause buds to swell prematurely and become vulnerable to cold snaps.
Hydrangeas prefer moderate to high humidity and dry climates can cause their leaves to brown and become dry.
Fertilizer:
If your soil is rich in nutrients, you likely won’t have to fertilize your hydrangeas.
Pruning:
If your Hydrangea is growing too large, prune to the desired size by the end of August. In spring, only prune out dead wood once the new growth has emerged.
Propagating by cuttings
- In the very early fall, select a new growth stem at least six-to-eight inches long that does not have a flower. New growth will be lighter green than old growth.
- With a sterile, sharp pruner, cut the stem below a leaf node (a node signifies where a set of leaves are set to grow).
- Strip the bottom leaves, but keep the top set of leaves.
- Dip the bottom of the cutting in rooting hormone.
- Place the end of the cutting into a small eight-to-ten inch pot filled with damp potting soil.
- Make a mini-greenhouse by covering the pot with a plastic bag and closing it at the bottom of the pot. Cut a couple of small slivers on top of the bag so the cutting can breathe.
- Put the pot in a spot that is away from any direct sunlight and keep the soil slightly damp.
- In two to four weeks, a root system should begin to develop.